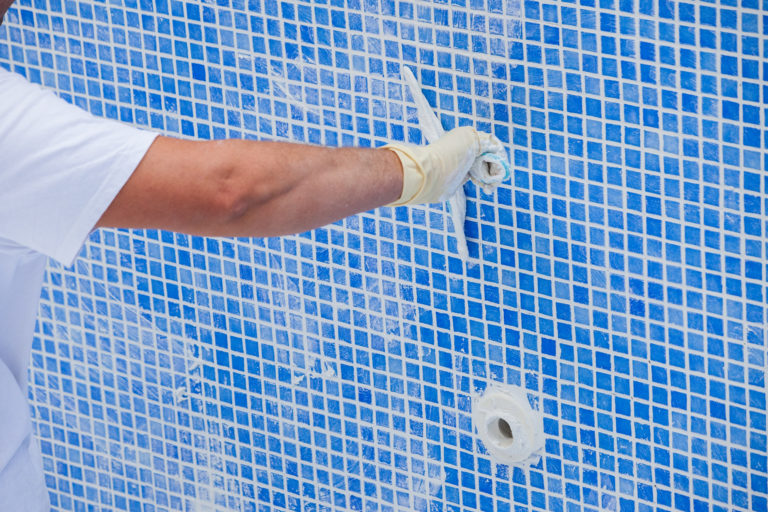
Mastering the Art of Pool Mosaics and Tile Design
You’re about to dive into the captivating world of pool mosaics and tile design. From understanding the basics, exploring styles, to crafting your own masterpiece, we’ve got you covered.
You’ll learn not only how to create but also maintain these beautiful works of art.
Ready to make a splash? Let’s immerse ourselves in this vibrant, underwater realm!
Understanding the Basics of Pool Mosaic Art
You’re just starting out, so let’s first understand the basics of pool mosaic art. This artistic endeavor has deep roots in mosaic history, dating back to ancient times when artists painstakingly placed tiny pieces of colored stones and glass to create stunning visuals.
Mosaic artists were responsible for some of the most beautiful works in human history, from intricate floor patterns in Roman villas to breathtaking Byzantine church domes. Just imagine that you’re part of this timeless tradition. Now, with modern materials and techniques, you can create your own mosaic masterpiece at the bottom of a pool.

Don’t be intimated by those intricately designed mosaics you’ve seen online or in high-end spas. You’ll begin with basic shapes and patterns before moving on to more complex designs. Think about how exciting it’s going to be when your ordinary swimming pool transforms into a unique piece of art.
It’s not just about aesthetics though; creating a pool mosaic also enhances the durability and safety of your pool’s surface. So, as you dive into this fascinating world, remember that you’re not only creating beauty but also adding value to your property.
Exploring Different Styles and Trends in Tile Design
There’s a vast array of styles and trends to explore in this field, each offering unique aesthetics and functionalities. You can’t help but be drawn into the world of tile design with its rich history and vibrant color palettes.
The tile color theory plays a significant role in creating the perfect ambiance. It’s fascinating how certain colors can stir emotions – blue for tranquility, red for energy, or green for harmony. But it doesn’t stop there; historical influences also shape today’s designs.
Consider the following examples:
| Style | Historical Influence | Emotion Evoked |
| Mediterranean | Ancient Greece & Rome | Serenity |
| Art Deco | 1920s & 1930s | Glamour |
| Mid-Century Modern | Post-WWII era | Nostalgia |
| Moroccan | North Africa | Exoticism |
Each style has a story to tell. Whether it’s the clean lines of Mid-Century Modern inspired by post-war simplicity or the intricate patterns of Moroccan tiles reflecting North African culture, every design is a testament to its time.
Materials and Tools Needed for Pool Mosaics
Before diving into your project, it’s crucial to know the materials and tools you’ll need to create stellar pool mosaics.
The first component you should focus on is mosaic pattern selection. It’s the blueprint guiding your design and helps determine what types of tiles you’ll need. Choosing a pattern could seem overwhelming because of the myriad options available, but don’t fret!
Start by considering simple geometric shapes or abstract patterns if you’re a beginner. As your confidence builds, you can venture into more intricate designs like marine life motifs or Greek-inspired motifs.
Next up is color scheme choices. This decision will significantly affect the overall look and feel of your pool. Maybe you want cool blues that mimic the ocean? Or perhaps vibrant hues for an eclectic vibe? Remember, there’s no wrong choice here-it’s all about personal preference!
Finally, ensure that you have the right tools handy-tile nippers for cutting tiles to size, tweezers for placing small pieces precisely, grout float to apply grout evenly across your mosaic, and sponge for clean-up duties.
With these resources in place, unleashing your creativity on those pool mosaics becomes not just feasible but exciting too!
Step-by-Step Guide to Creating Your Own Pool Mosaics
You’re ready to dive into the world of pool mosaics, but where do you start?
First, we’ll guide you through choosing the best materials that not only catch your eye but also withstand pool conditions.
Then, we’ll jump into designing your mosaic and finally walk you through the creation process step-by-step, ensuring you’re well-equipped to create a stunning underwater masterpiece.
Choosing Mosaic Materials
Choosing the right materials for your pool mosaic is vital, as it’ll significantly impact the overall look and durability of your design. Your chosen materials could be the difference in mosaic longevity and color combinations.
Consider these factors:
* Material Type: Options include glass, ceramic, or stone. Each has its own aesthetic appeal and durability.
* Color Combination: You want colors that’ll blend seamlessly with your pool surroundings.
* Texture: Smooth or rough? The choice can affect both aesthetics and comfort.
* Shape/Size: Do you prefer small square tiles or larger irregular shapes?
* Longevity: High-quality materials resist pool chemicals better, increasing the lifespan of your design.
Designing Your Mosaic
Once you’ve selected your materials, it’s time to let your creativity shine in designing your mosaic. Delving into the mosaic color theory will help in selecting shades that complement each other and accentuate your design. Don’t be afraid to play with contrasting colors for an eye-catching effect.
Incorporating personal symbols is a brilliant way of adding depth to your mosaic. Perhaps there’s a specific shape or symbol that holds significance for you; this can be seamlessly integrated into your design for a personalized touch.
Mosaic Creation Process
It’s now time to dive into the creation process of your mosaic. Drawing from mosaic history, you can appreciate the intricate workmanship that mosaic artists have passed down through generations.
Here’s a simple table to guide you:
| Step | Action |
| 1 | Sketch your design on paper |
| 2 | Choose and prepare your tiles |
| 3 | Apply adhesive and arrange tiles |
| 4 | Grout and seal the final piece |
Start by sketching out your design. Then, select and prepare your tiles – remember, color choice plays a crucial role in bringing your image to life. Next, apply adhesive carefully to each tile and arrange them according to your sketch. Finally, grout and seal for a polished finish. Now you’re an integral part of the rich tapestry of mosaic artists!
Maintenance and Care for Pool Mosaics and Tiles
You’ve mastered the art of pool mosaic and tile design, but now it’s time to keep them in top-notch shape.
Regular cleaning routines are a must for maintaining their brilliance, just as repairing damaged tiles is crucial for preserving your pool’s aesthetic appeal.
Moreover, preventing mosaic discoloration should be high on your priority list to ensure that your masterpiece remains vibrant and inviting throughout the seasons.
Regular Cleaning Routines
Maintaining your pool’s mosaic and tile design doesn’t have to be a hassle, regular cleaning routines can make it much easier. These routines play a crucial role in preserving mosaic longevity and maintaining the artistic inspiration behind each piece.
| Cleaning Routine | Benefit |
| Regular Brushing | Removes debris, enhances aesthetics |
| Weekly Vacuuming | Prevents stain build-up |
| Monthly Chemical Balancing | Prolongs tile life, maintains color vibrancy |
| Annual Professional Inspection | Ensures mosaic longevity |
You’ll find that these simple steps will not only maintain the visual appeal of your mosaics but ensure their durability too. They’re also vital for keeping your pool looking its best. So don’t neglect them! You’ve invested time and money into creating a beautiful space – take the time to care for it properly.
Repairing Damaged Tiles
After mastering your pool cleaning routines, you’re now ready to tackle more challenging tasks. Let’s delve into repairing damaged tiles and grout, a crucial part of maintaining the stunning look of your mosaic.
1. Tile Replacement Techniques: Don’t panic when you see a cracked tile; it’s fixable. Carefully remove the broken pieces without damaging surrounding ones, apply adhesive, then set in the new tile.
2. Grout Selection Tips: Choose waterproof and fade-resistant grout. Your pool’s aesthetic depends on it. Don’t forget to match the color with existing grout for consistency.
3. Finally, properly seal everything off to prevent future damage.
With time and practice, you’ll become adept at these techniques, ensuring your pool remains as enchanting as ever!
Preventing Mosaic Discoloration
It’s equally important to understand how to prevent mosaic discoloration, ensuring your beautiful design remains vibrant and appealing. Discoloration causes can range from chemical imbalances in your pool’s water to exposure to sunlight over time. You’ve got a few color preservation methods at your disposal.
Firstly, maintain the right chemical balance in your pool. Too much chlorine can bleach tiles, while high acidity erodes grout, leading to discoloration. Regular testing helps avoid these issues.
Secondly, opt for UV-resistant sealants that protect against sun fade when installing or resealing your mosaics.
Lastly, consider using darker colors which are less prone to noticeable fading compared to lighter ones.
Case Studies: Inspiring Examples of Pool Mosaic and Tile Designs
Let’s dive into some inspiring examples of pool mosaic and tile designs that will leave you in awe. These examples not only showcase the beauty of mosaics but also give insight into mosaic cost factors and how they’re designed using advanced mosaic design software.
– The Azure Oasis: This picturesque pool features a dazzling blue mosaic tile pattern, reminiscent of azure seas. The intricacy of this design is directly related to its cost.
– Mosaic Cost Factors: High-quality tiles were used, and the complexity required extra labor hours.
– Mosaic Design Software: The intricate wave-like pattern was created using top-tier software that allowed for precise planning.
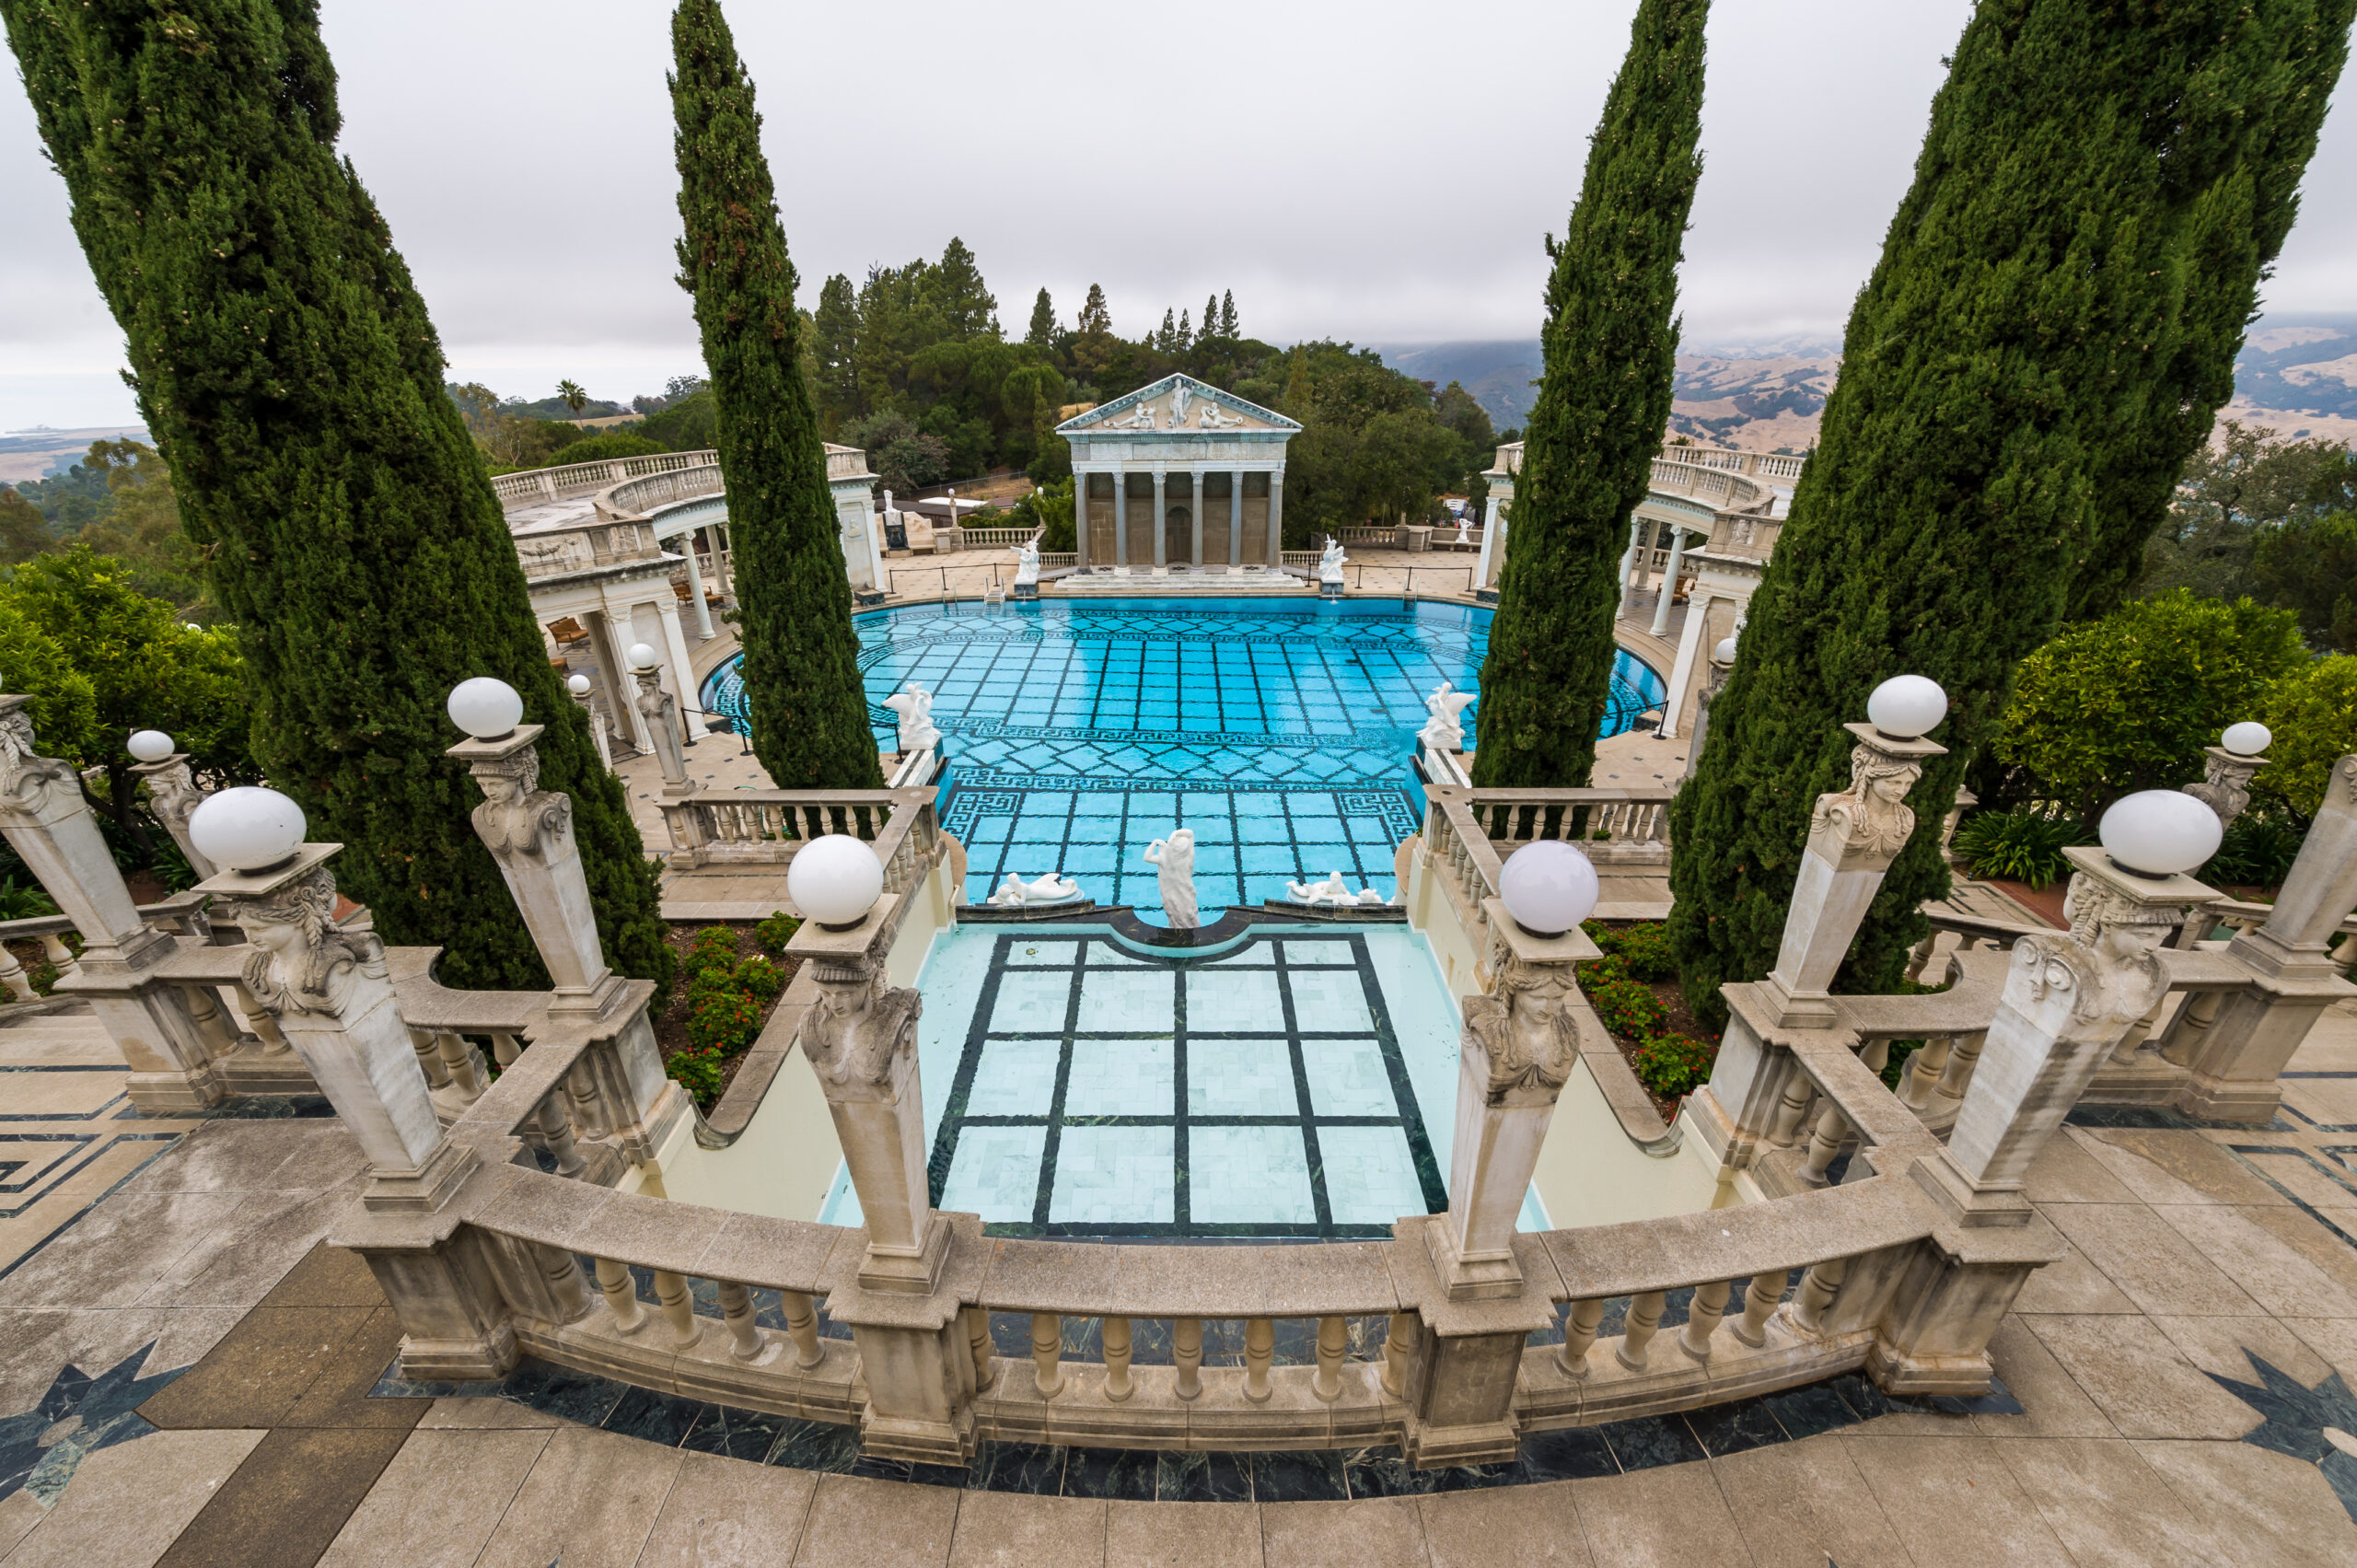
– The Grecian Paradise: An homage to ancient Greek bathhouses, this pool uses neutral tones with mixed sizes of tile.
– Mosaic Cost Factors: Mixed-size tiles can be more affordable than uniform ones due to less waste.
– Mosaic Design Software: A geometric layout tool within the software ensured perfect alignment.
– The Underwater Fantasy: This stunning creation showcases a vibrant underwater scene across the entire pool floor.
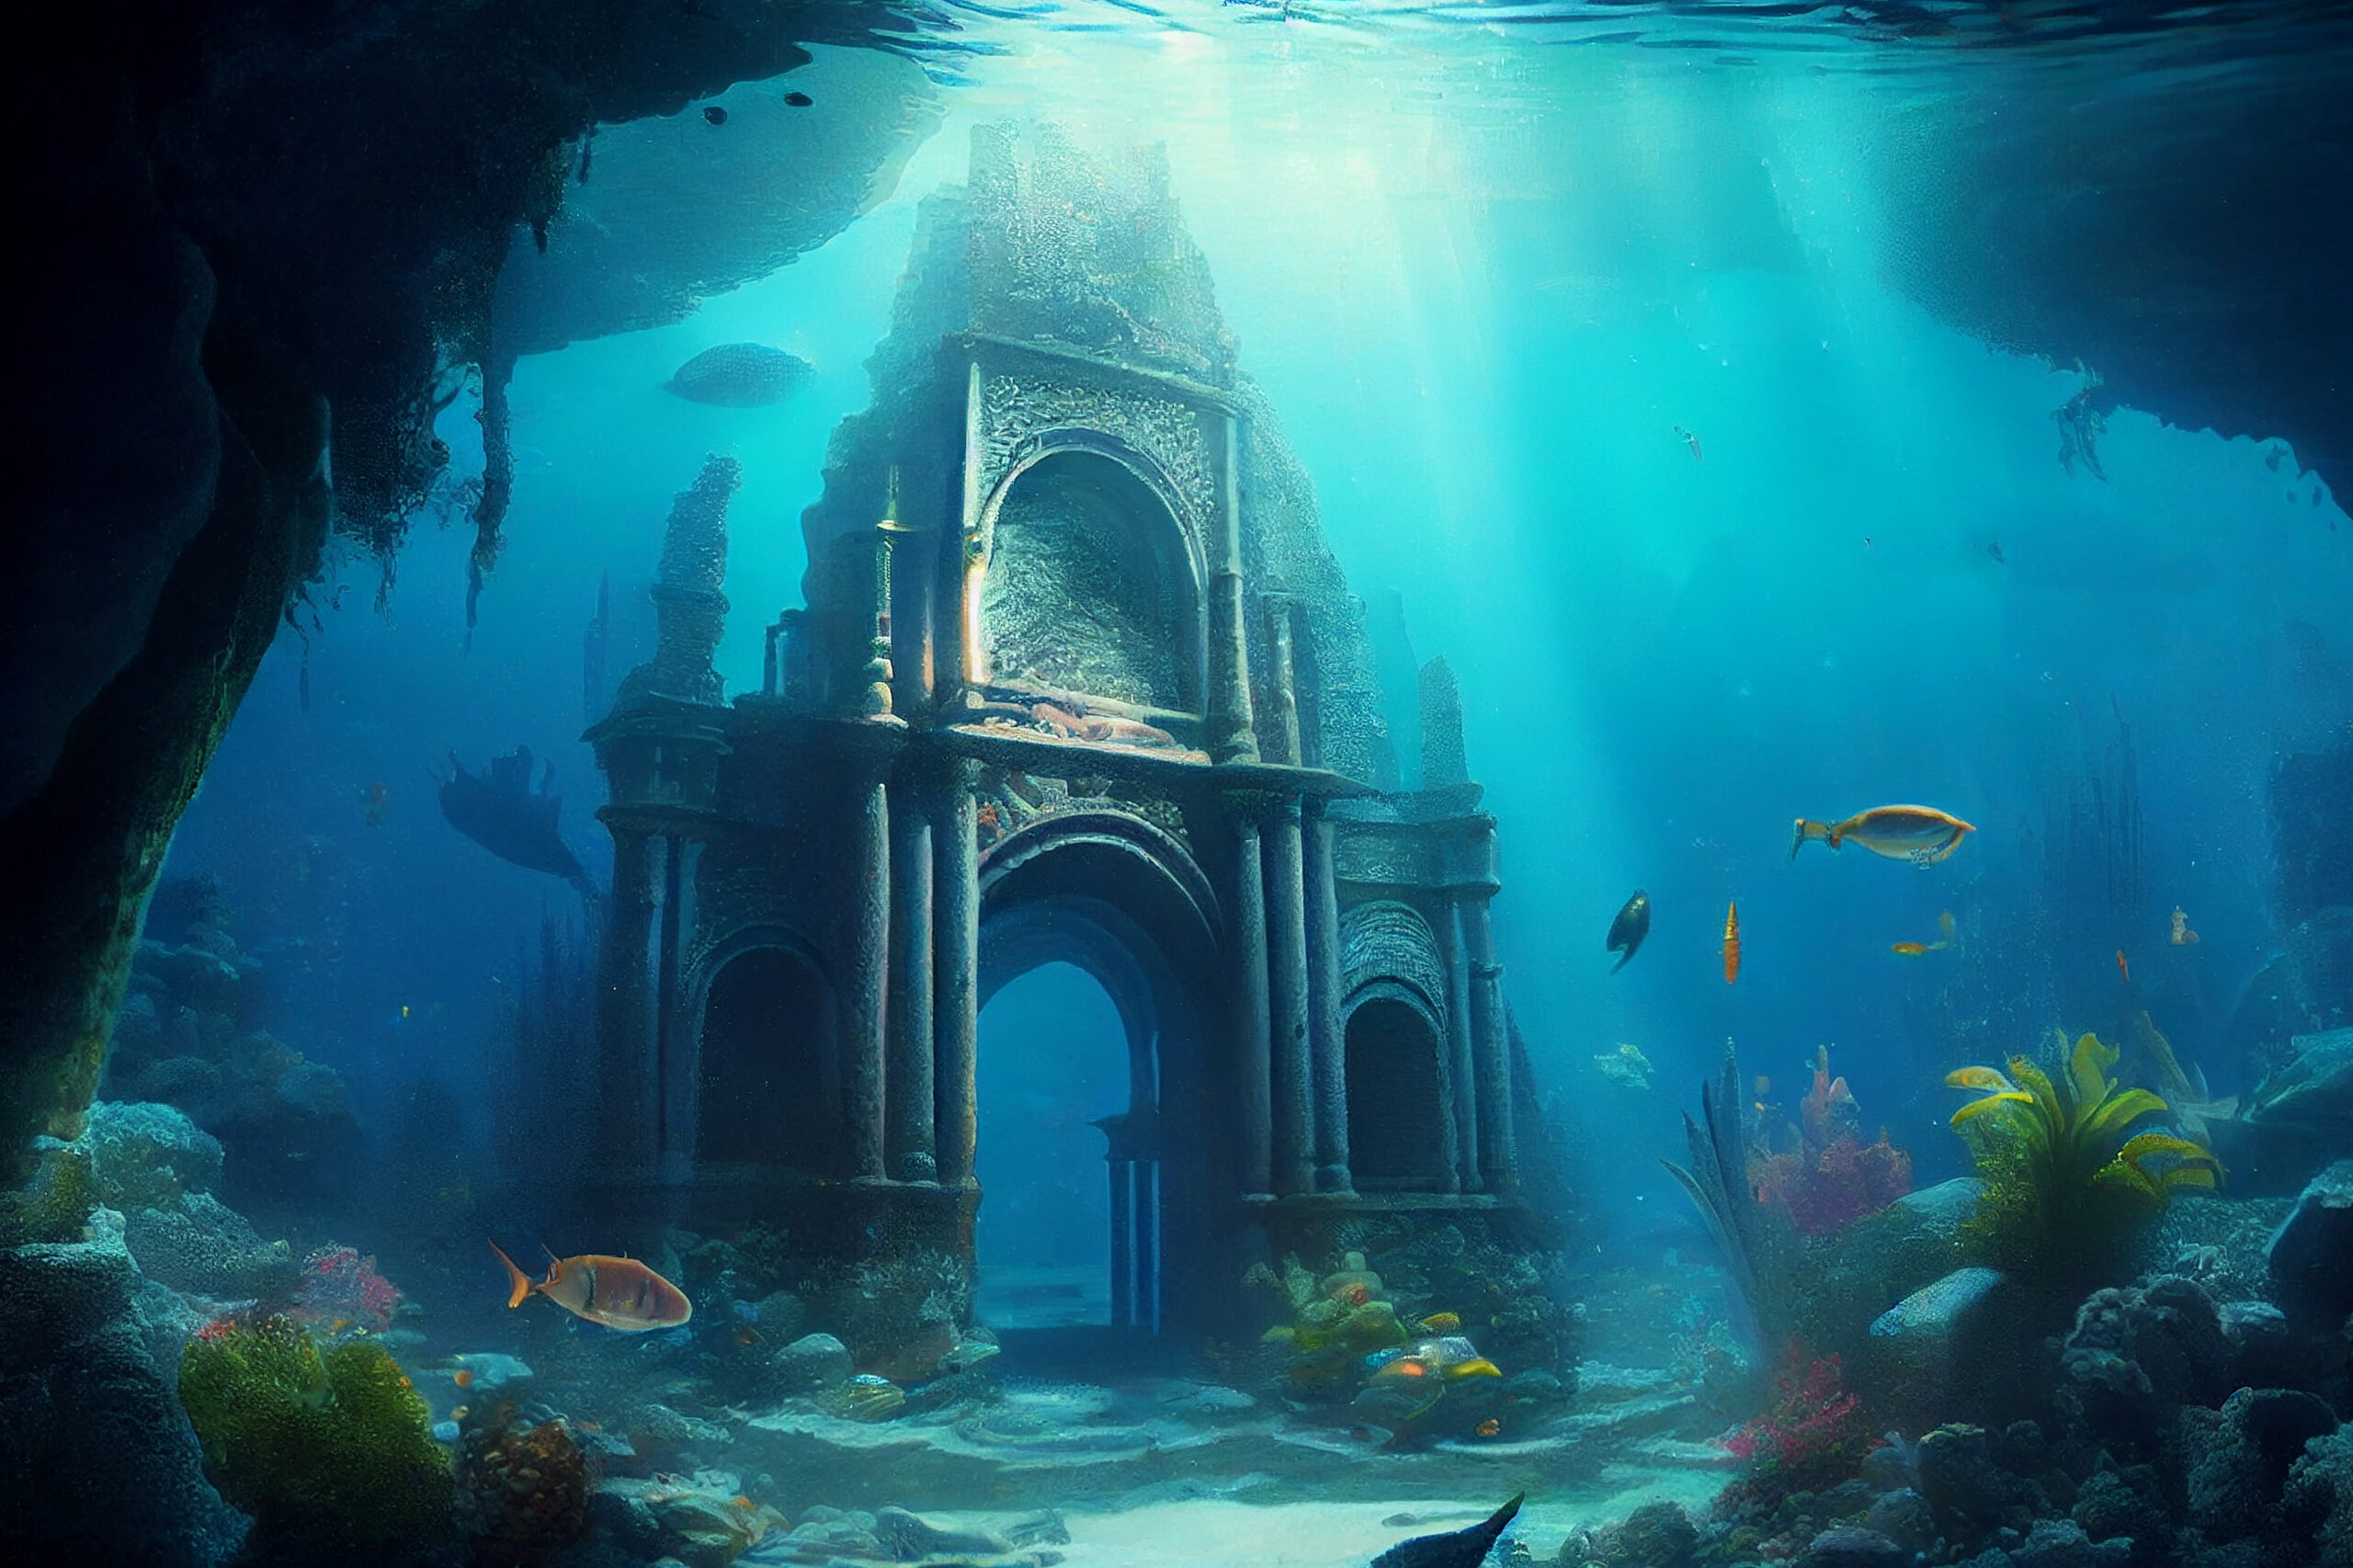
– Mosaic Cost Factors: Custom-made designs like this one usually mean higher costs due to unique colors and patterns.
– Mosaic Design Software: Advanced 3D modeling tools helped bring this fantasy to life.
These examples should inspire you as you plan your own dream pool!
Frequently Asked Questions
What Are the Cost Implications of Creating a Pool Mosaic?
Creating a pool mosaic can be costly. You’re not just paying for mosaic materials but also installation and ongoing maintenance requirements. However, it’s an investment that’ll enhance your pool’s aesthetics tremendously.
Can Pool Mosaics Be a DIY Project or Does It Require Professional Expertise?
You can certainly tackle pool mosaics as a DIY project. However, it’s crucial to understand the challenges of working with mosaic materials. If you’re not experienced, professional expertise might be a safer choice.
How Can I Incorporate Personal or Custom Designs Into a Pool Mosaic?
Incorporating personal designs into a pool mosaic entails selecting your mosaic materials and drawing inspiration from your favorite designs. You can sketch your design, then translate it onto the mosaic surface using tiles.
What Are the Safety Precautions Needed When Creating and Installing Pool Mosaics?
When creating and installing pool mosaics, it’s crucial to consider safety precautions. Choose non-slip materials for your design. Be careful with grouting techniques to avoid sharp edges that could potentially cause injuries.
What Is the Expected Lifespan of Pool Mosaics and Tiles?
You’re curious about the lifespan of pool mosaics and tiles. With good mosaic maintenance, they’ll typically last 5-10 years. However, tile durability can extend to 15-20 years if properly cared for.


